Tips
a) Do not move the original object. Move the mobile device around the object to capture images.
b) When creating a 3D model, the original object should be selected carefully. Neither moving objects nor transparent objects are a good choice. Furthermore, objects made by glass, which are glossy and reflective, are not good choice for the original object.
c) The distance between the camera or mobile device and the original object should be noticed. It will produce a 3D model with bad quality, if it is too far or too close from the original object to the device. The whole object should be in the screen when capturing photos.
d) Flashlight should not be used during capturing images. Arguably, sunlight is the best light
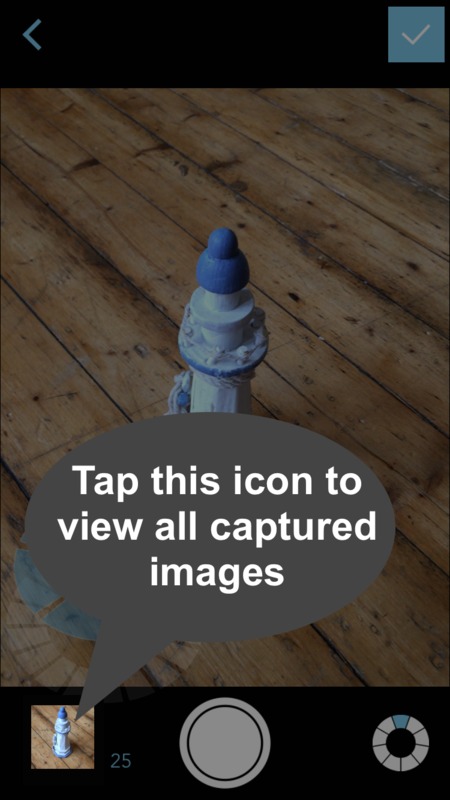
e) During the process of creating a 3D model, the mobile app provides two translucent circles in the lower left corner to help users when capturing photos. These two translucent circles change the shape according to the position of the mobile device. For example, if the mobile device is placed vertically, these two circles turn into two ellipses. When the mobile device is turning horizontally, the ellipses change into circles again. The function of these two circles is to record the position of captured photos. For example, once the user takes images on the right side of the object, the corresponding part of the translucent circle will be marked with blue. These two translucent circles will rotate when the camera moves around the object. Hence, there is no need to worry about remembering the position of the camera when capturing photos.
f) The two translucent circles can be removed by tapping the circle at the bottom right corner. In other words, users can tap the circle to use these two translucent circles.
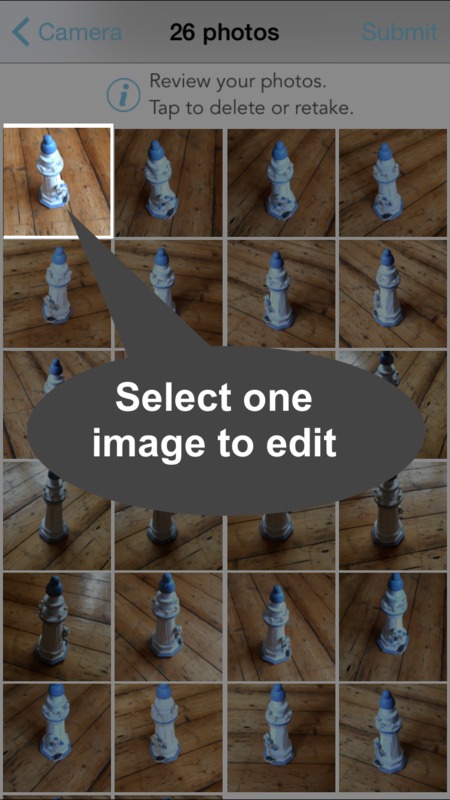
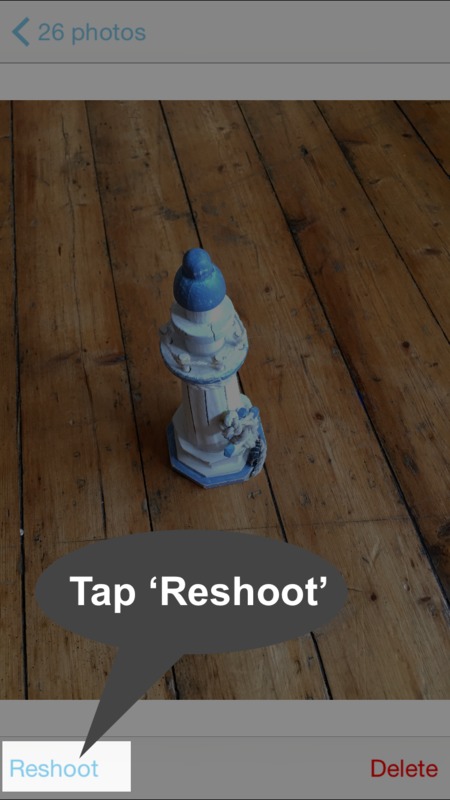
g) During the process of creating 3D models, the user can retake a photo.
- Firstly, tap the image icon in the bottom left corner of the capturing screen
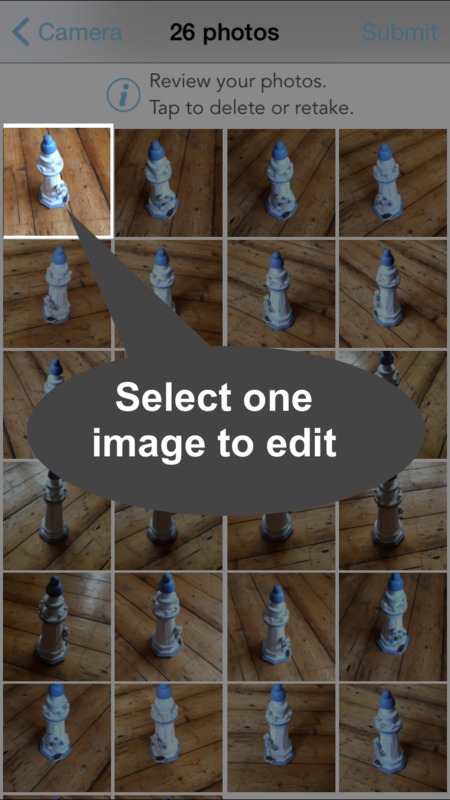
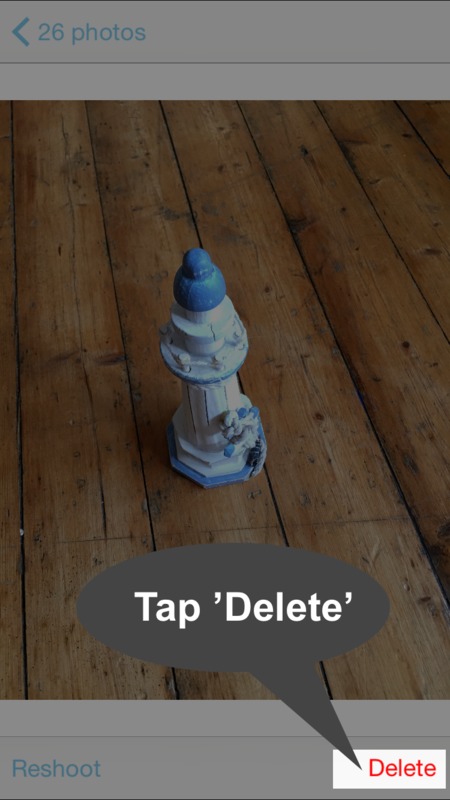
h) During the process of creating 3D models, the user can delete the captured image
- Firstly, tap the image icon in the bottom left corner of the capturing screen
i) When uploading 3D models to Omeka platform, the document with the suffix of ‘obj’ should be added at first, then add other documents.
j) When uploading 3D models to Omeka platform, all the documents in the directory of ‘mesh’ should be added
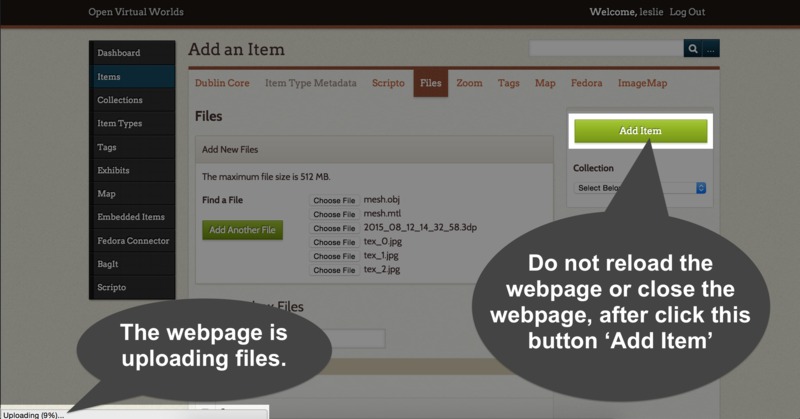
k) When uploading 3D models to Omeka platform, do not reload the webpage or close the webpage after click the button ‘Add Item’. It takes some time to upload files. There is a hint in the bottom left corner, if the mouse cursor is on the webpage.
l) When viewing 3D models on Omeka platform, it might take a long time to load. Please be patient.
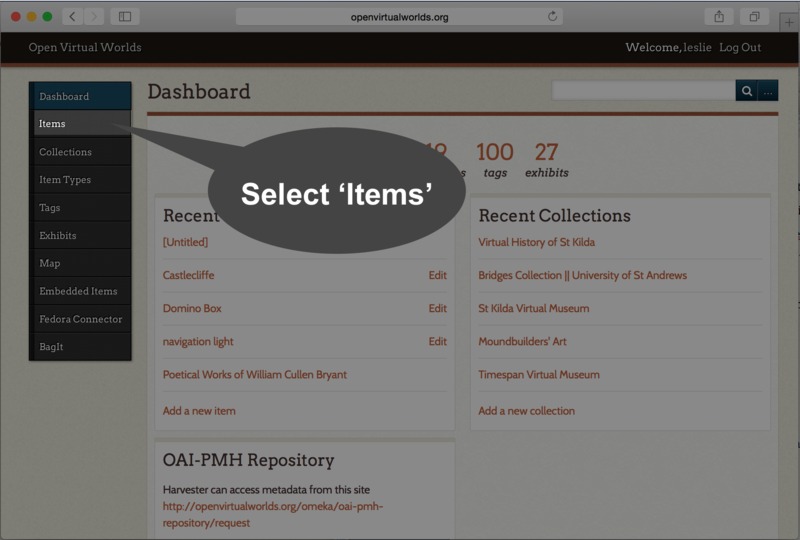
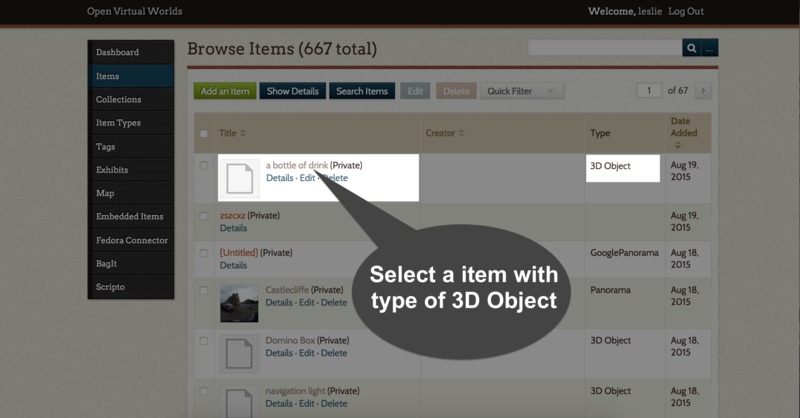
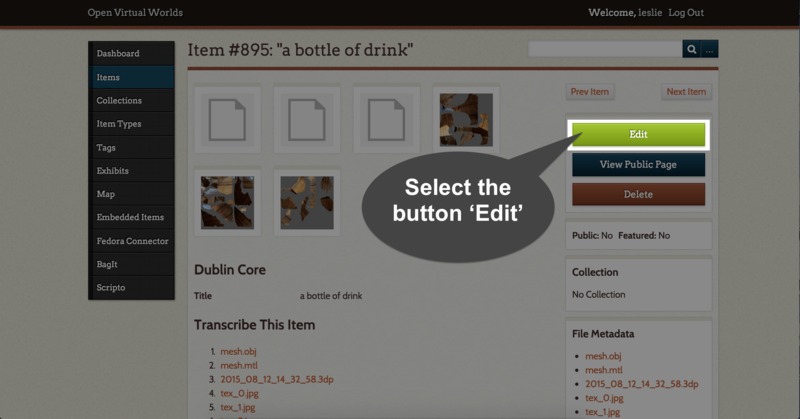
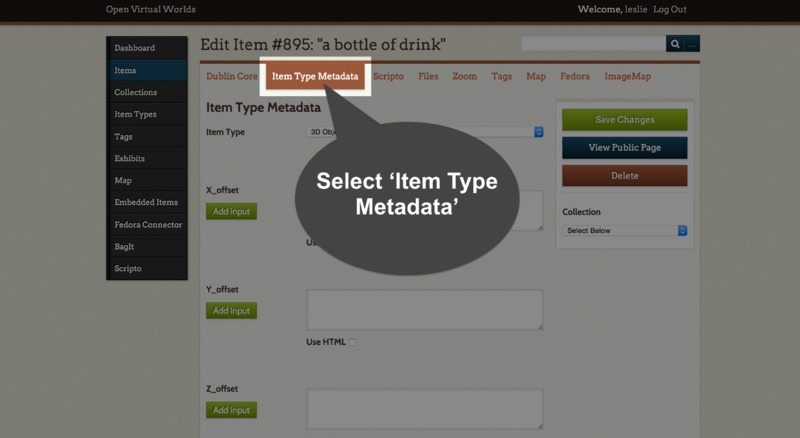
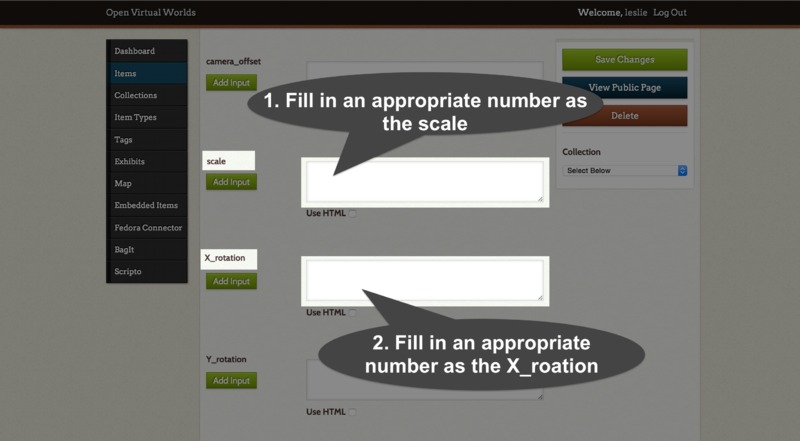
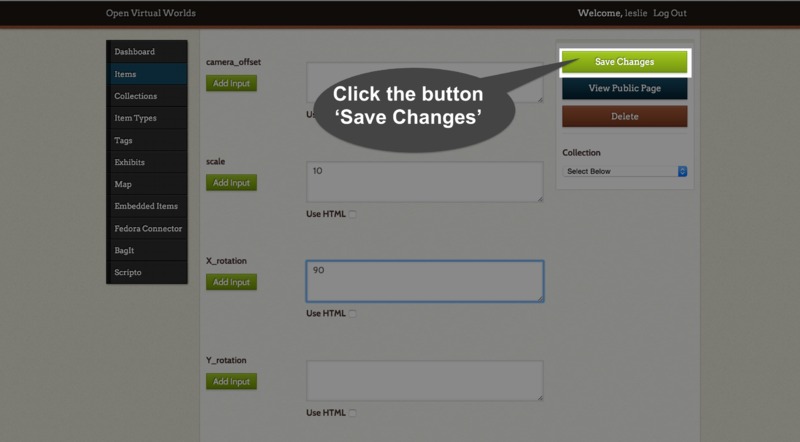
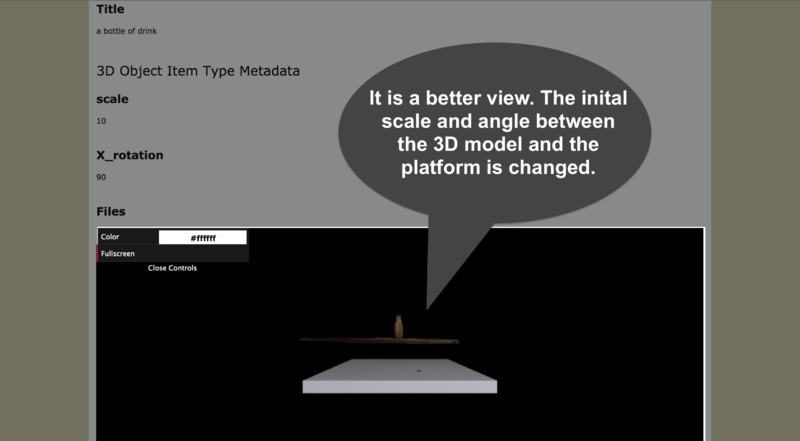
m) When viewing 3D models on Omeka platform, the initial scale and angle between the 3D model and the platform can be modified, if the visitor is the creator of the 3D model. The following steps show how to modify it.
- After signing in, select ‘Items’
